Jump Links
-
Collectables You May Have Missed
You’d better put on your winter jacket, or rather, your Faydown Cloak, because Mount Fay in Hollow Knight: Silksong is a bitterly cold place indeed.
This mountain is known to many as the home of the particularly tricky platforming challenge, where you’ll fight to stay warm, all the while scaling the freezing slopes and just hoping that you don’t fall and lose all your progress.
Yet, this place is actually hiding many secrets, not just the double jump upgrade. There are many reasons to return and explore. And what’s more, once you don your Faydown cloak, you won’t have to deal with the pesky frostbite anymore. Let me show you everything hidden in this icy-cold area.
Faydown Cloak
Of course, I have to start with the main reason for exploring this place. The Faydown Cloak can be obtained once you’ve gotten the Clawlineability from the Underworks. While this ability isn’t actually necessary for beating Act 2, I would highly recommend you grab it before taking on Grand Mother Silk.
You’ll have to platform your way from the base to the summit against the clock, as the bitter chill creeps into your bones, or rather, your shell. This might seem tricky at first, but as you get used to using the Clawline more often, it turns into a pretty trivial task.
If you’re struggling with completing this climb, take a look at our Faydown Cloak guide!
Later on in Act 3, you can also find Mister Mushroom up here chilling with the giant bug-bird creature.
Fatal Resolve
Once you enter Act 3, you’ll have the opportunity to face the Pinstress, but this time, for real. You remember the blue-coated character from the Blasted Steps, right? And, trust me, she’s no joke!
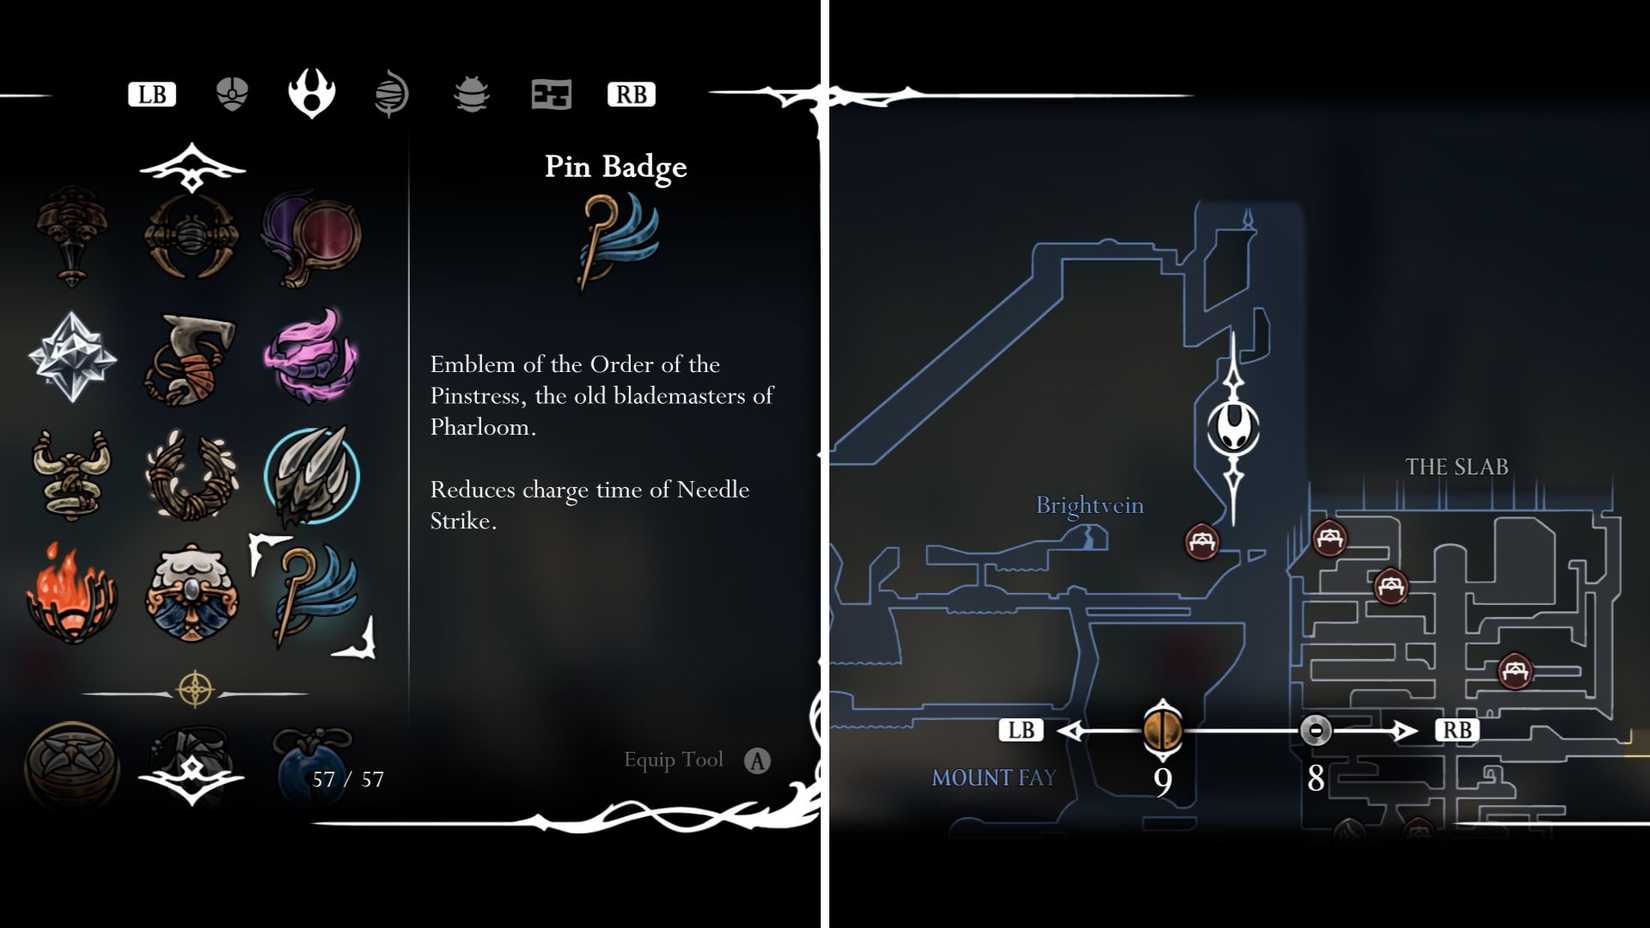
First off, head to Bellhart to accept her challenge, and then head up Mount Fay. You can find her on a small plateau just above the breakable wall with the bench inside. She’ll be asleep at first, so give her a few whacks of your needle, and she’ll leap up, ready for battle.
Be careful not to fall off the platform. If you do, it will automatically reset your progress in the fight.
|
Attack Name |
Description |
|---|---|
|
Triple Pin |
The Pinstress will float in the air and fire off 3 pins at a time. She will generally use this 2–3 times in a row. It’s also possible for her to use this track on the ground before jumping. |
|
Downwards Slash |
The Pinstress will slash diagonally towards you, and then cut horizontally across the platform. |
|
Charged Slash |
She can also use a basic charged slash, which spans the entire length of the platform, remaining on the ground. |
|
Cross Cut |
The boss will hang in the air for a moment, tucking in, and then release a big slash in the shape of an X. As the fight goes on, she will use a charged version, which is far larger and harder to avoid. |
These are the main attacks you’re going to have to look out for. The only reason this boss is so tricky is just how much she moves around the stage. Most of the fight, she’ll spend it floating in the air and dashing around, which means you’ll only be able to get off occasional attacks.
Focus on dodging and getting jabs in while you can, and eventually you’ll have her down. For this, you’ll receive the Pin Badge Tool, which reduces the charge time for your Needle Strike ability.
Liquid Lacquer Delivery
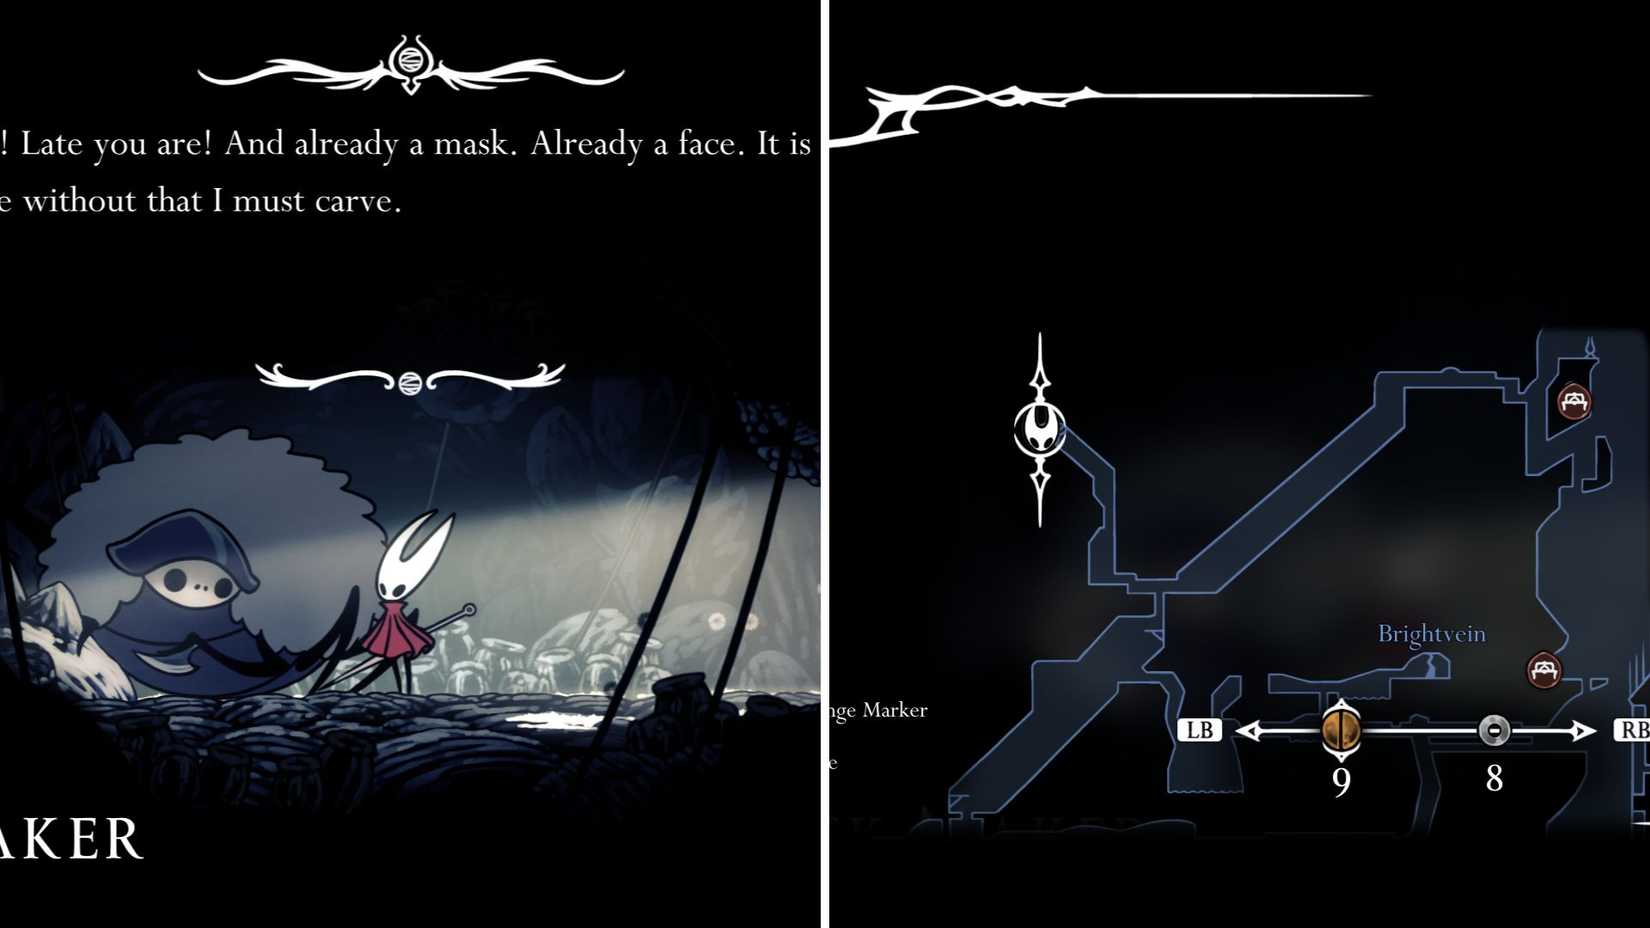
You can talk to Tipp and Pill, the delivery bros in Bellhart, to access this quest. You’ll have to deliver the Liquid Lacquer all the way from Bellhart to the Mask Maker at the top of Mount Fay.
This task really isn’t worth the rewards and doesn’t count towards 100% completion of the game.
If you’ve done the Courier’s Rasher delivery, this should be a lot easier. Use our guide for a good route.
Follow the normal Courier’s Rasher route until you reach the Citadel. Once you reach the area with the Ventrica Station, instead of heading right, go left. Wend your way up past the Spa, and cross the large bridge that leads away from the Citadel.
Journey through the Slab, down and past the Bellway Station. Continue up and through Mount Fay as normal, completing the platforming section until you reach the top. Head left from the summit and slide down the western side of the mountain about halfway, until you see a route that leads further west.
Climb up this short tunnel section and you’ll reach the Mask Maker. The original reward for this delivery was 360 rosaries, which, quite frankly, is absolutely atrocious. However, now, it’s 680 rosaries… which is still pretty bad for how long of a trek this is. If you want rosaries, just grind against the tall warriors in the corridors in the Citadel.
Memory Crystal
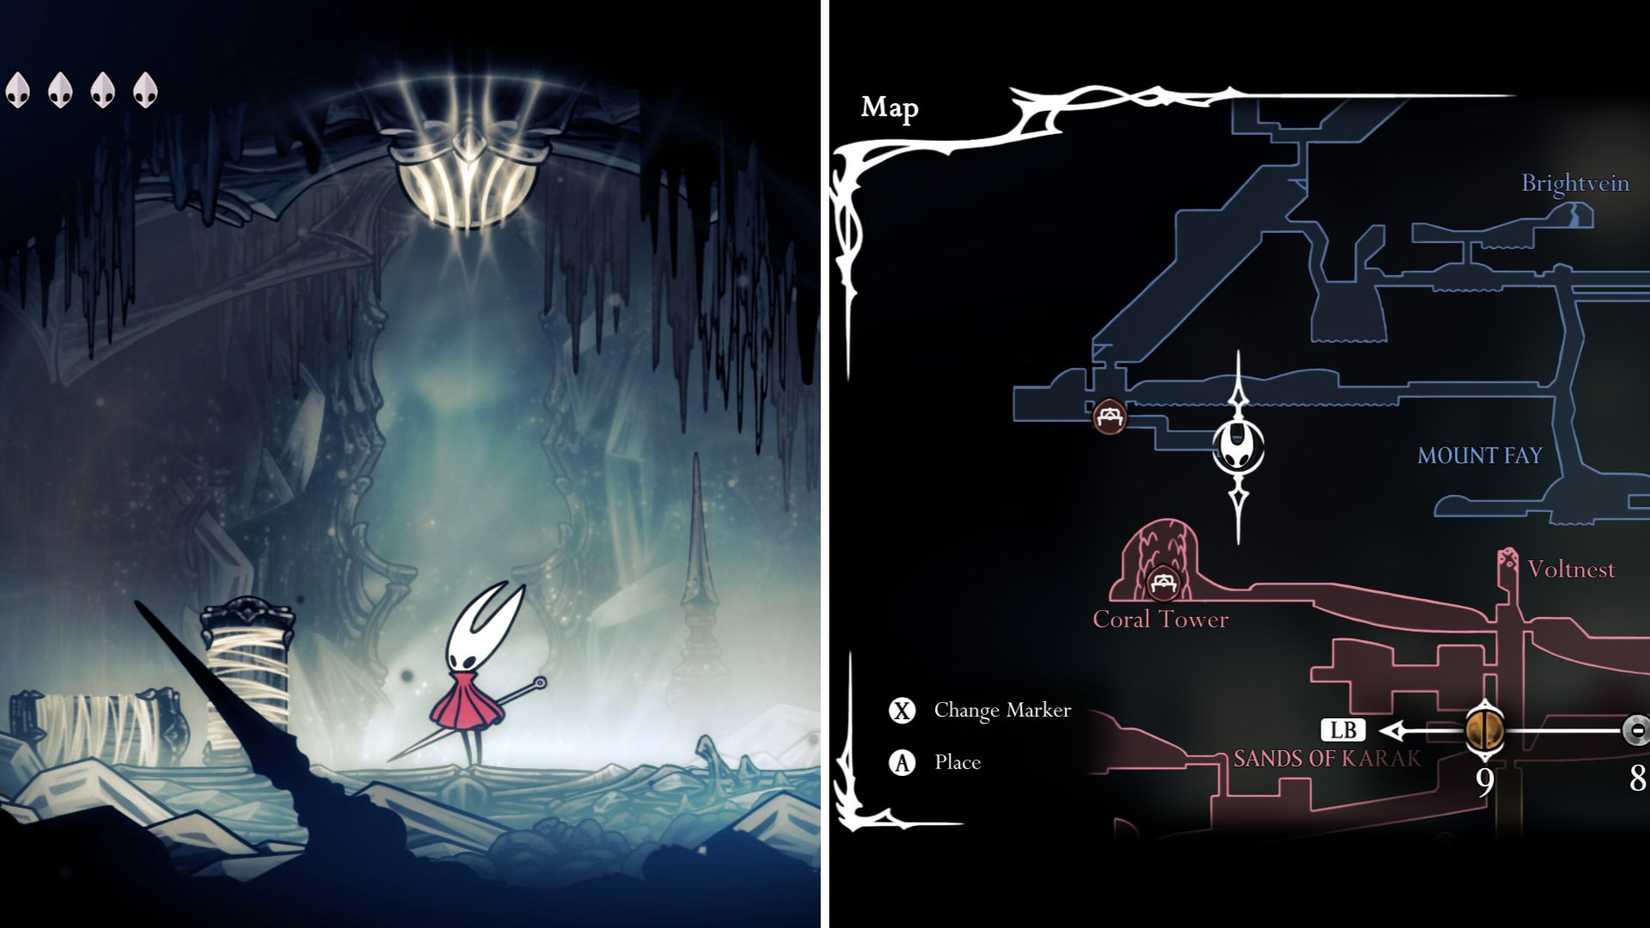
The memory Crystal can be found near the bench on the western side of Mount Fay. Just to the east of the bench.
Break through the wall, drop and continue to smash through all the big ice crystals blocking your path. Eventually, you’ll find a small room with the Memory Crystal inside.
This crystal activates when you take damage, spawning a statue of you which will explode when enemies touch it. While this is an interesting item, it struggles against the other considerably better blue tools available in the game.
Weaver’s Silkshot
Firstly, you must have the ruined tool, which can be found in Bilewater. This can be found by heading straight east as far as you can, coming from the Sinner’s Road entrance to Bilewater.
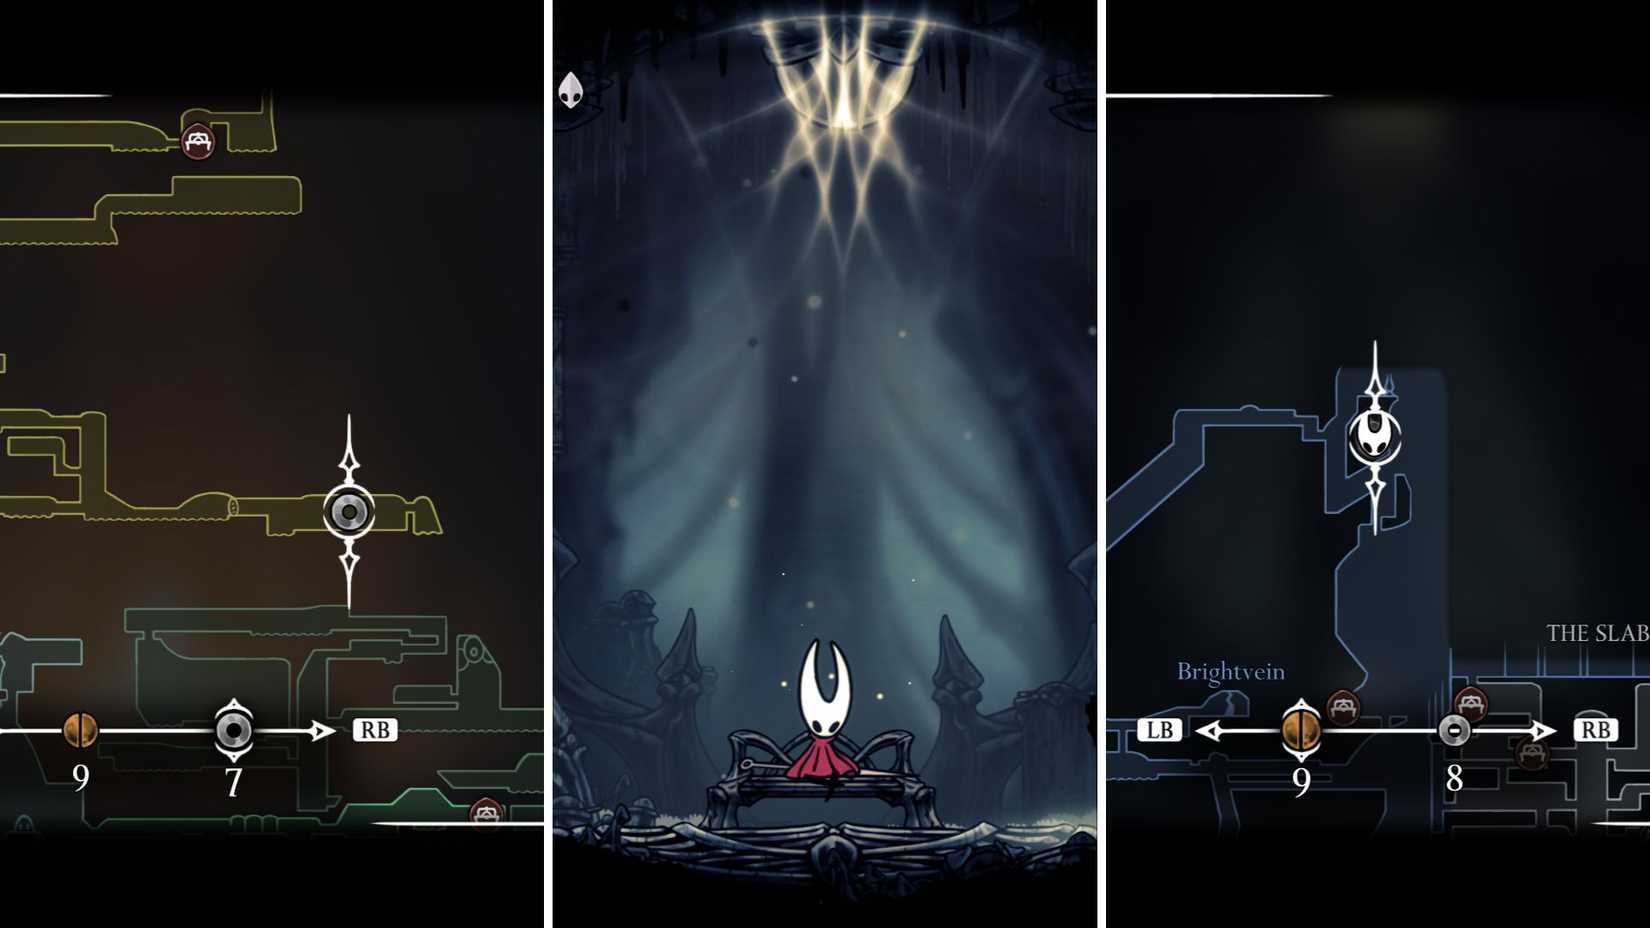
Bring this tool to the top of Mount Fay, where you got the Faydown Cloak and then drop off the eastern side to find a little cave. There’s a seat you can rest on here and a little workbench. Bring the Ruined Tool and a piece of Craftmetal to create your very own Silkshot.
This is the only Silkshot that you can craft on your own. Once you’ve created this one, you cannot get the others. The other variants can be crafted with the Forge Daughter in the Deep Docks and the Architect in the Underworks.
Collectibles You May Have Missed
Brightvein Mask Shard
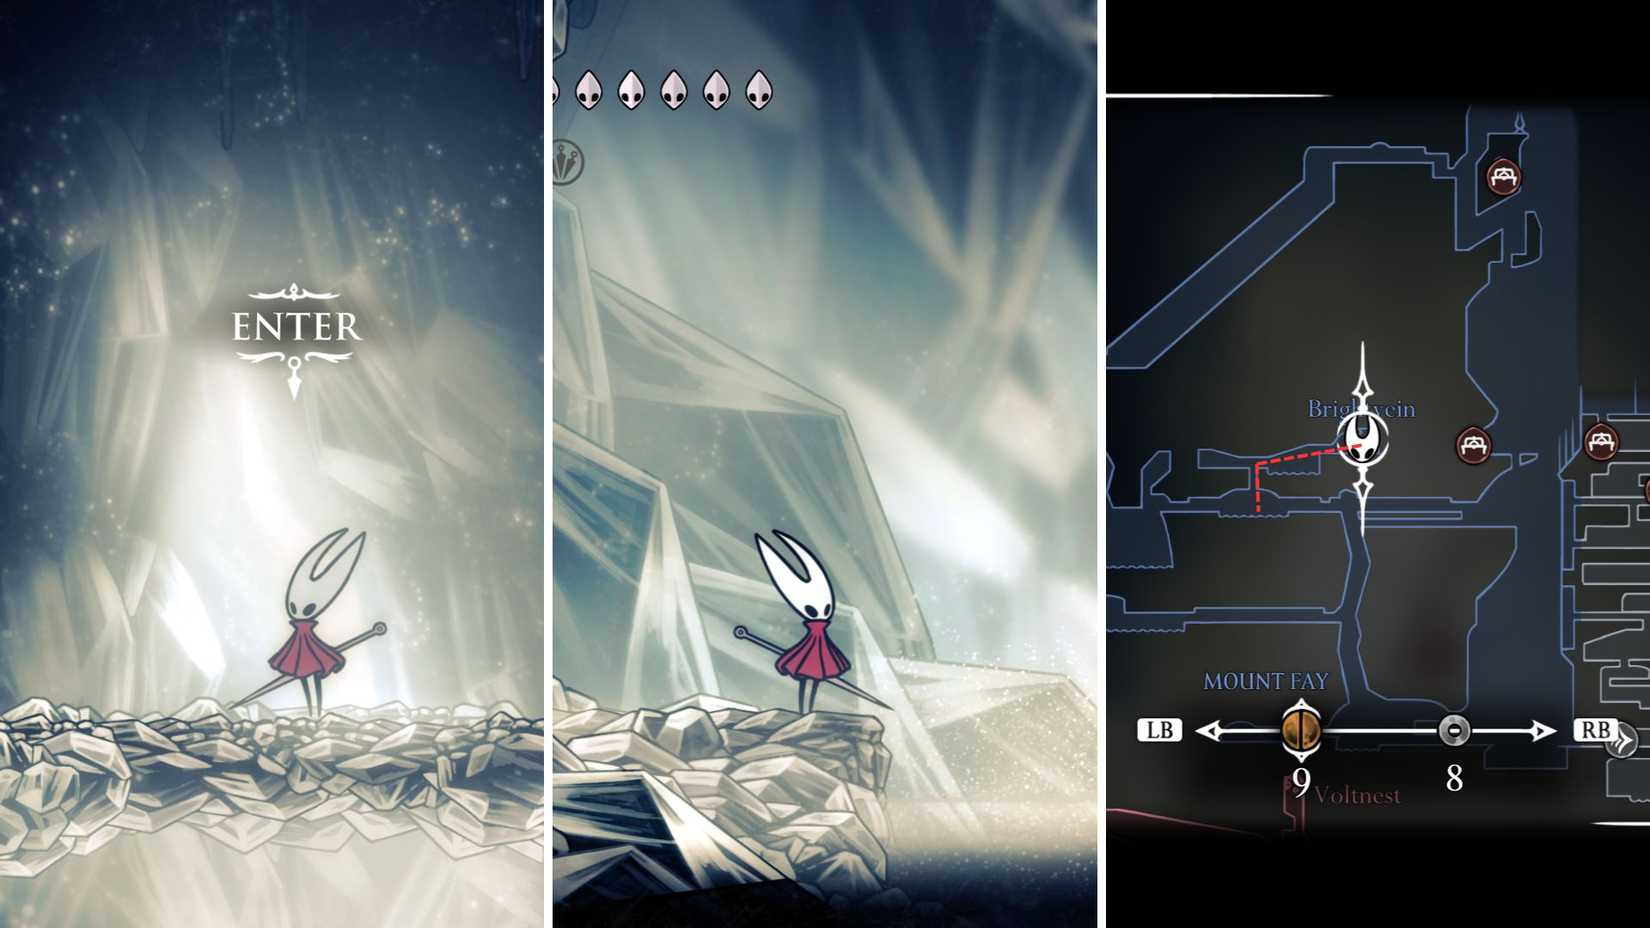
This can only be done in Act 3. Head back to the lake, which is located in the middle of Mount Fay, in the centre layer. There, you will have previously cut down a stalactite, which is now sitting in the middle of the water.
Use your Silk Soar to head up, and go east to find a new sub-area called Brightvein. Here you’ll find a particularly tricky little platforming section, where you’ll need to head upwards using your Faydown Cloak and Clawline to bounce off of enemies, and smash ice crystals, all while suspended in midair.
Climb your way up to find a Mask Shard right at the top.
Double Jump Tower Mask Shard
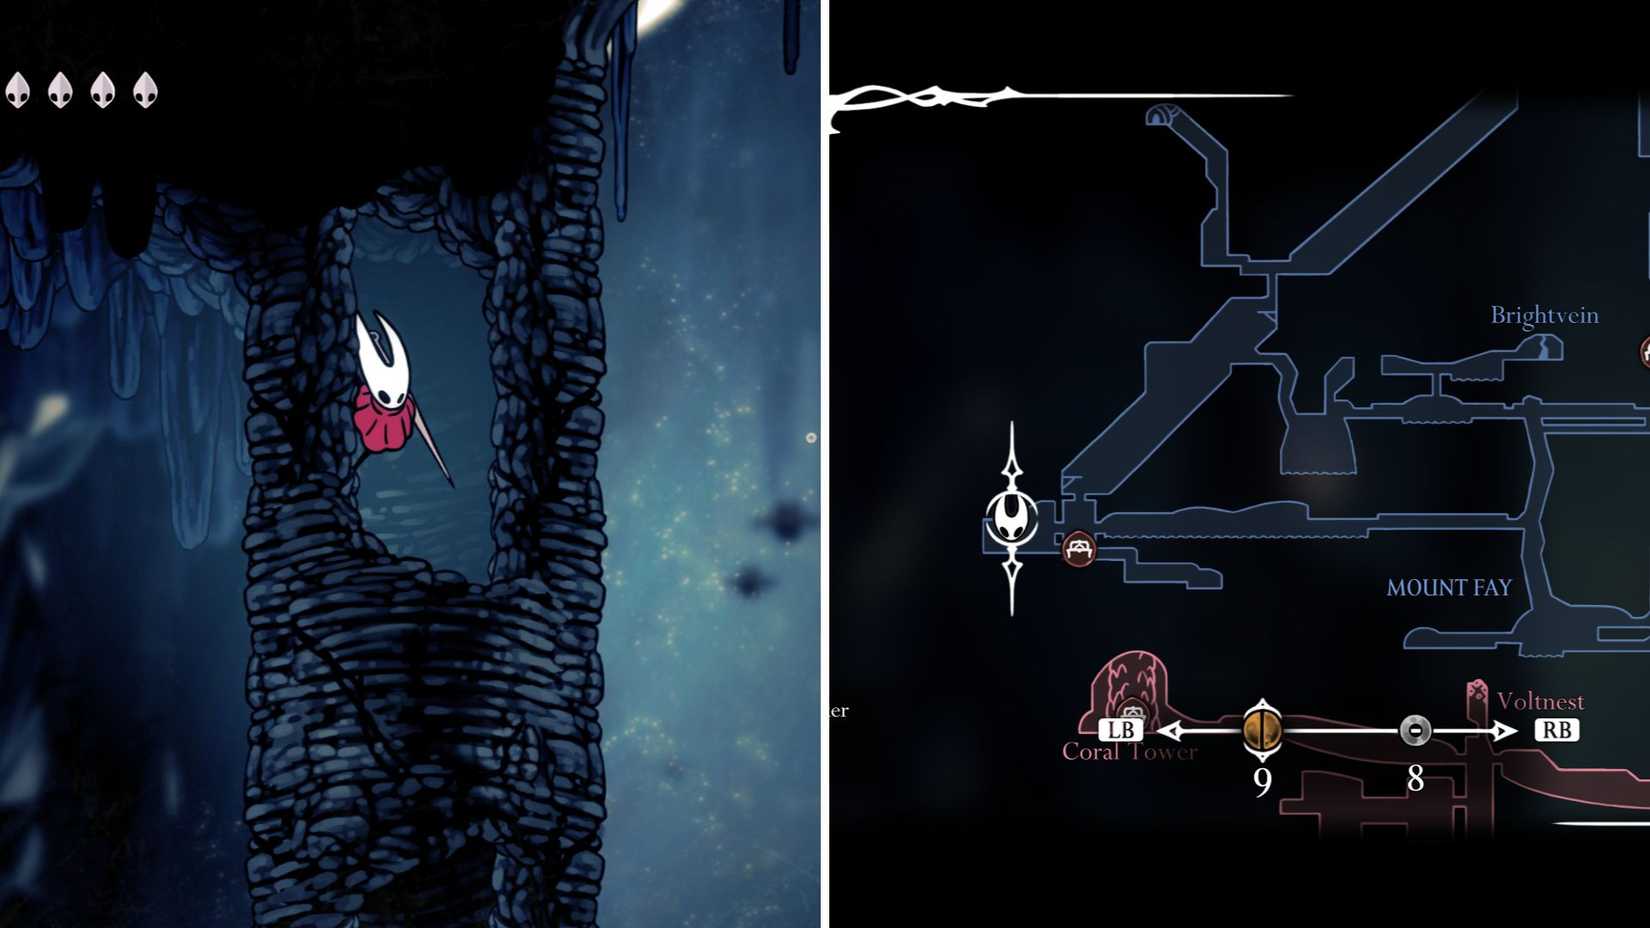
Head west from the southwestern-most bench, and there’s a hollow tower with a mask piece inside. You can only reach this with the Faydown Cloak, so grab it as you come down from the top of the mountain.
Hidden Flea
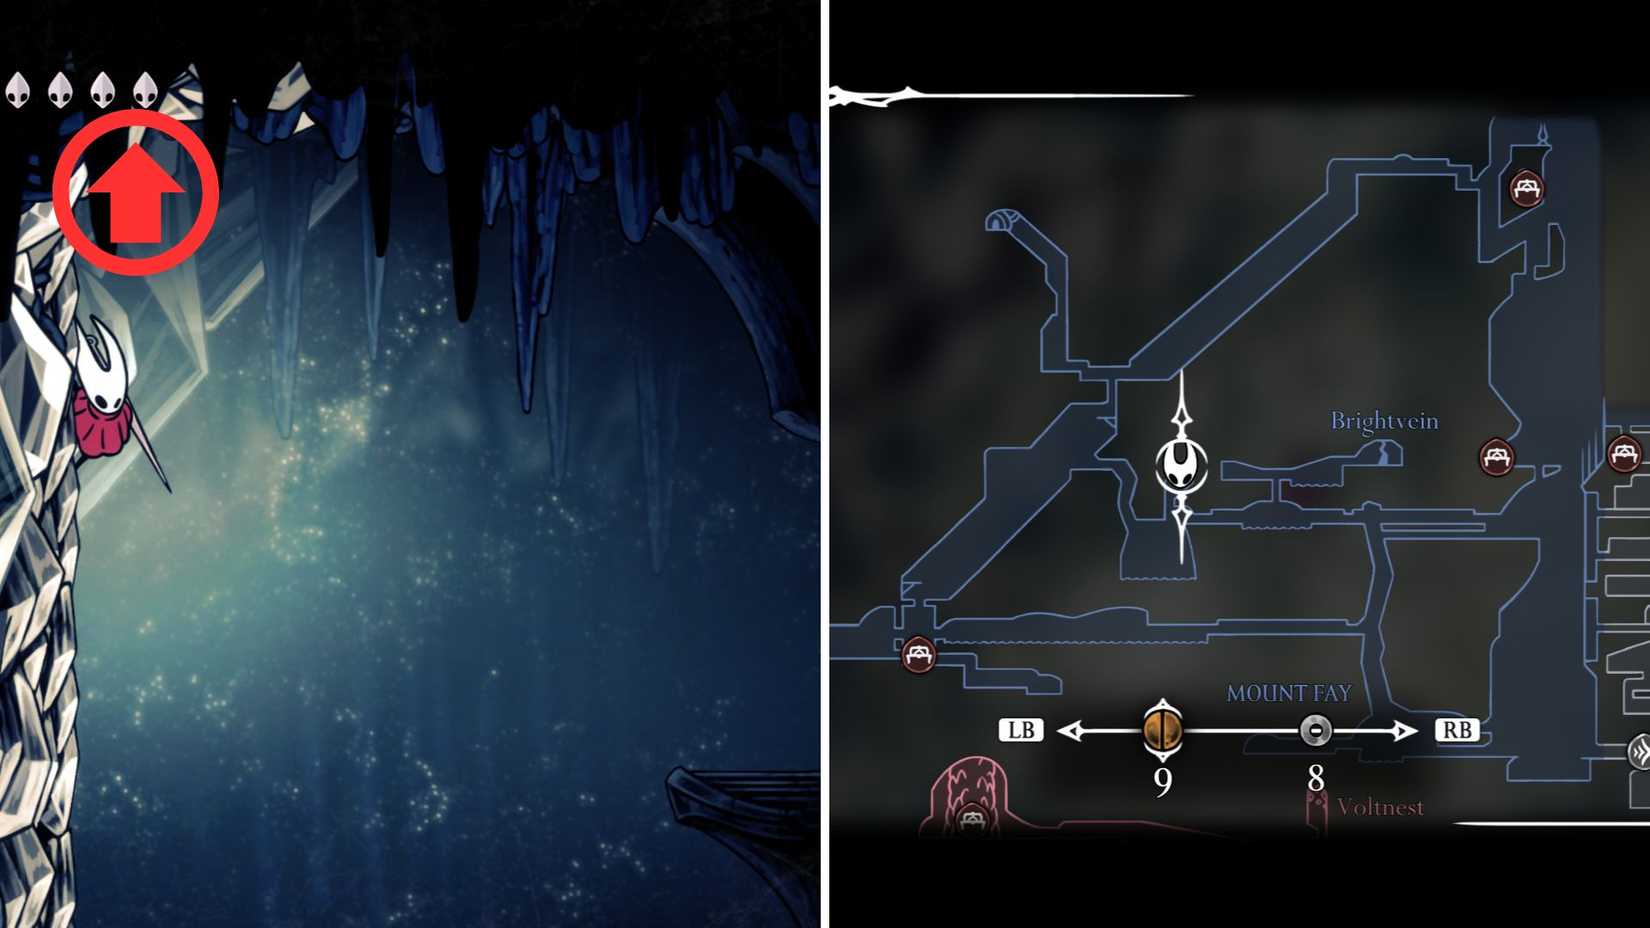
In the centre of Mount Fay, where you used your Silk Soar to head up the Brightvein, instead head to the west, past the lake, into the next chamber. Jump across to the wall and start wall-jumping up into the ceiling. You’ll find a hidden area with some large crystals and a stuck flea!
Once you’ve checked off all these items, that’s all there is to Mount Fay! Happy Hunting!
- Released
-
September 4, 2025
- ESRB
-
Everyone 10+ / Fantasy Violence, Mild Blood
- Developer(s)
-
Team Cherry
- Publisher(s)
-
Team Cherry

💸 Earn Instantly With This Task
No fees, no waiting — your earnings could be 1 click away.
Start Earning


